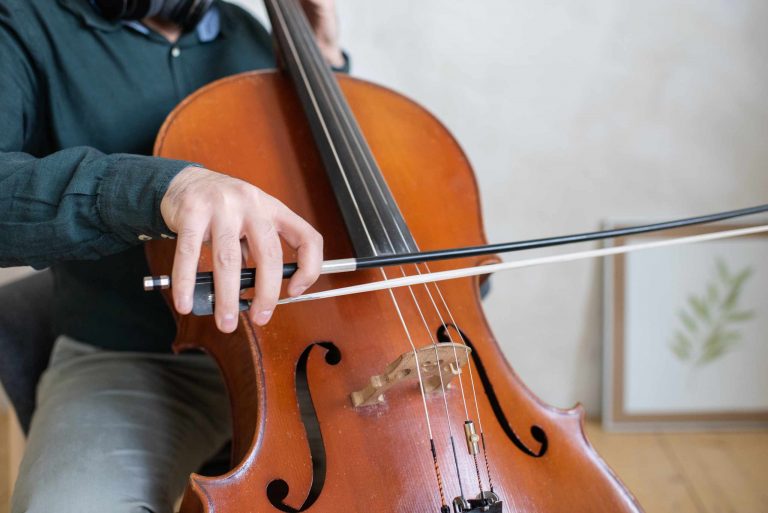
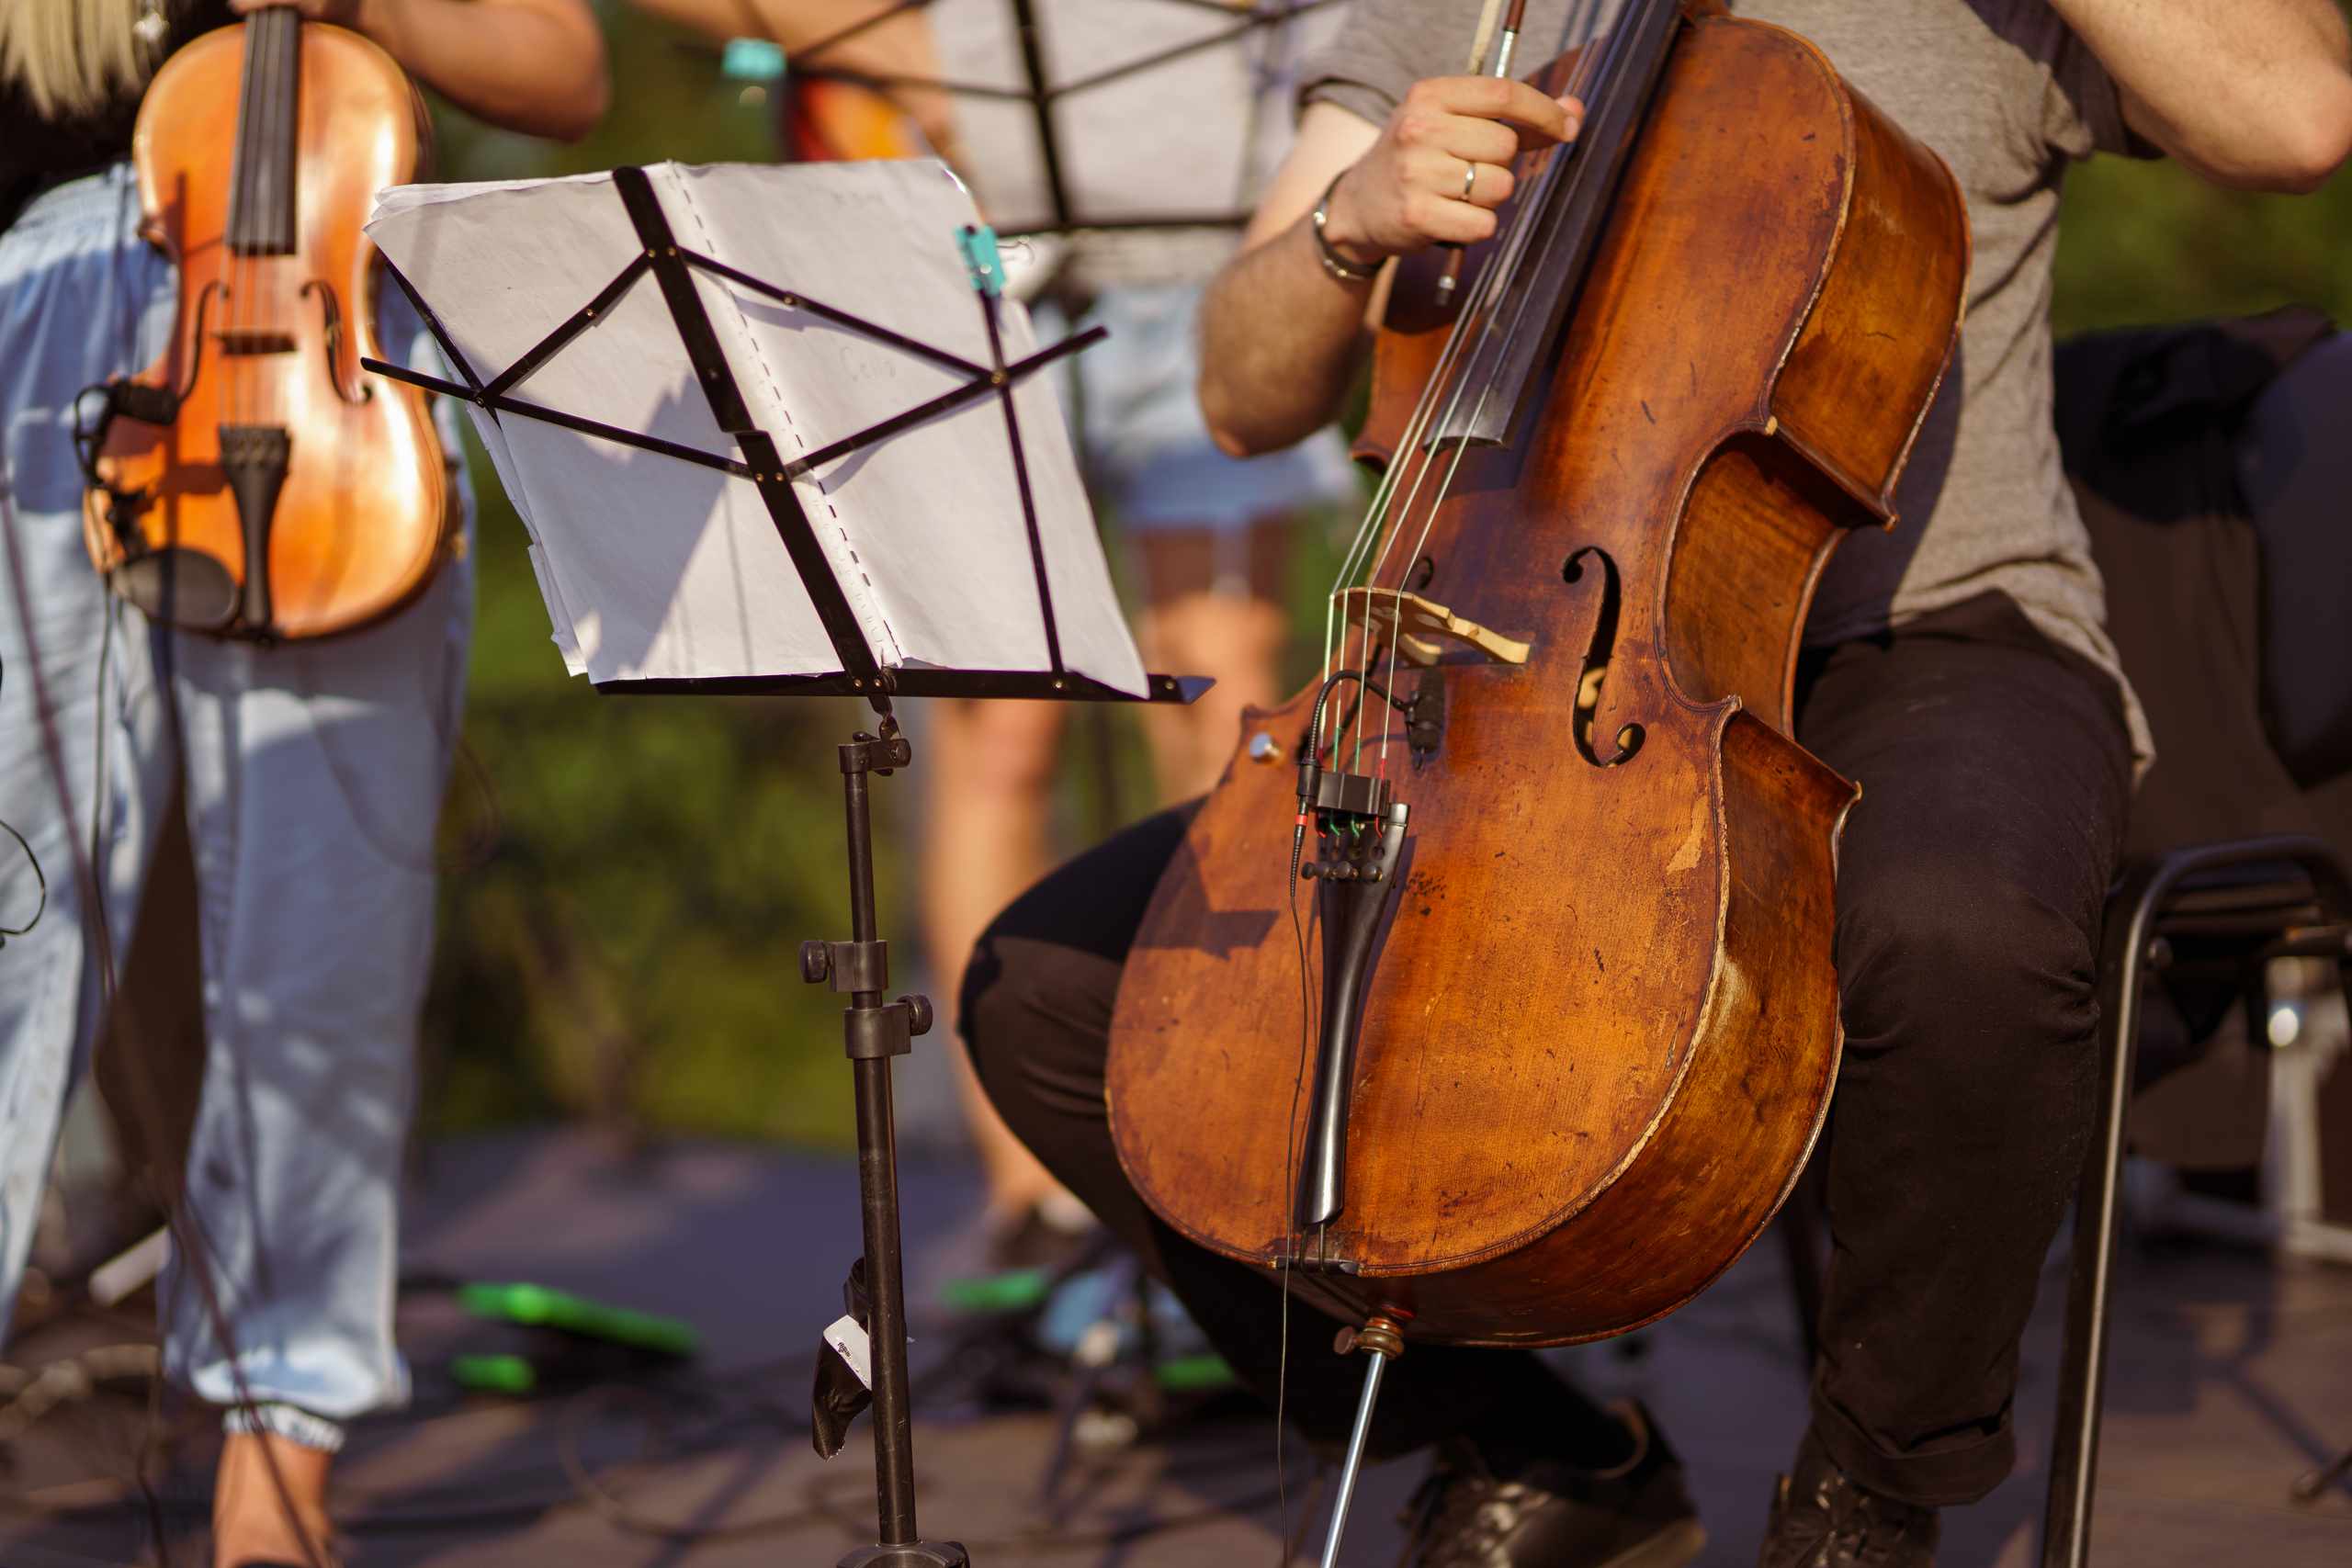
Observe the bow from the top when it is moving across an open string. The goal is for the bow to stay in roughly the same place between the bridge and the fingerboard rather than moving towards one and then the other. A bow that is constantly moving will create a change in sound quality even though the bow speed seems the same. It will sound thin when the bow gets close to the fingerboard and rough when the bow gets very close to the bridge.
The reason the bow isn’t staying in the same place is because the hand doesn’t move in a straight line in the air. The shape of the arm has to change as the bow goes from the frog to the tip. When the bow is near the frog, the elbow is bent more. As the bow goes further away, the forearm straightens and the hand moves further from the body. If you swing the whole arm out, then the bow will start to go across the string diagonally.
The position of the instrument plays a role as well. If the cello is leaning too far to one side or the endpin is too short or too long, the bow arm will adjust in ways you may not be aware of. Before working on fixing the bow, make sure the cello is securely placed between your knees and against your body. The shoulder shouldn’t have to lift up in order to place the bow on the D or G string.
As a specific exercise, take the bow near the middle of the bow on an open D string and use only a short piece of bow. Play several strokes slowly, keeping your eye on the area between the bridge and fingerboard. When you notice that this short area is staying relatively in the same spot, lengthen the stroke a little bit. Continue adding length in steps instead of jumping all the way to the full bow from frog to tip. If the bow starts to drift, go back to a shorter stroke and figure out how much bow you can handle.
A common mistake beginners make is to hold onto the bow harder. This makes the hand less flexible and can lead to a stiffer wrist. Keep the thumb and fingers flexible while the forearm opens and closes for the majority of the bowing motion. Don’t push the hand forward at the tip of the bow to get more length. Don’t pull the elbow back too much at the frog.
You can also check your sight by hearing what you play. Play a bow that stays in the same area then another that goes towards the fingerboard. The change in sound will help you to understand what to look for. You can try the same thing closer to the bridge but use lighter bow pressure so the sound doesn’t become strained. In this way, the bow path becomes something you can hear rather than simply look at.
Next time you are practicing open strings, select a single string and a portion of the bow instead of trying to manage the whole bow. Keep the bow slow and observe the bow path for a few times, then look away and listen. Then check to see if the bow is still in the same area. This simple test will give you more information about your bow path than practicing a long phrase over and over in hopes that the bow path will fix itself.