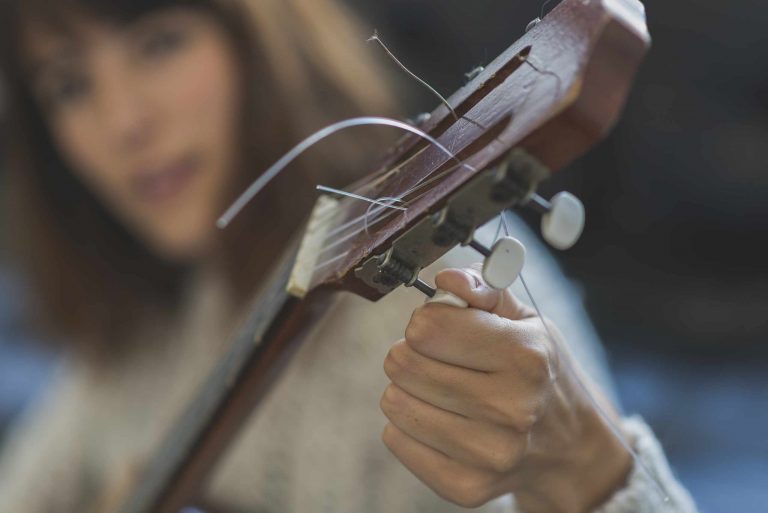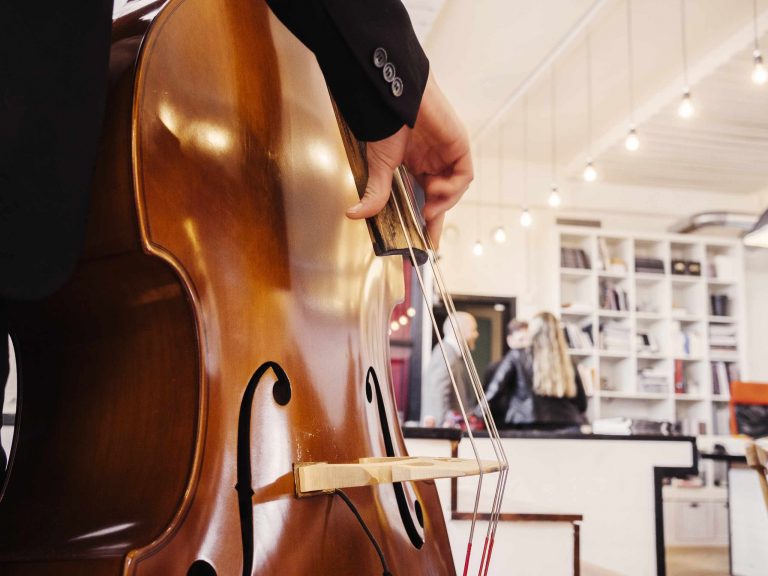
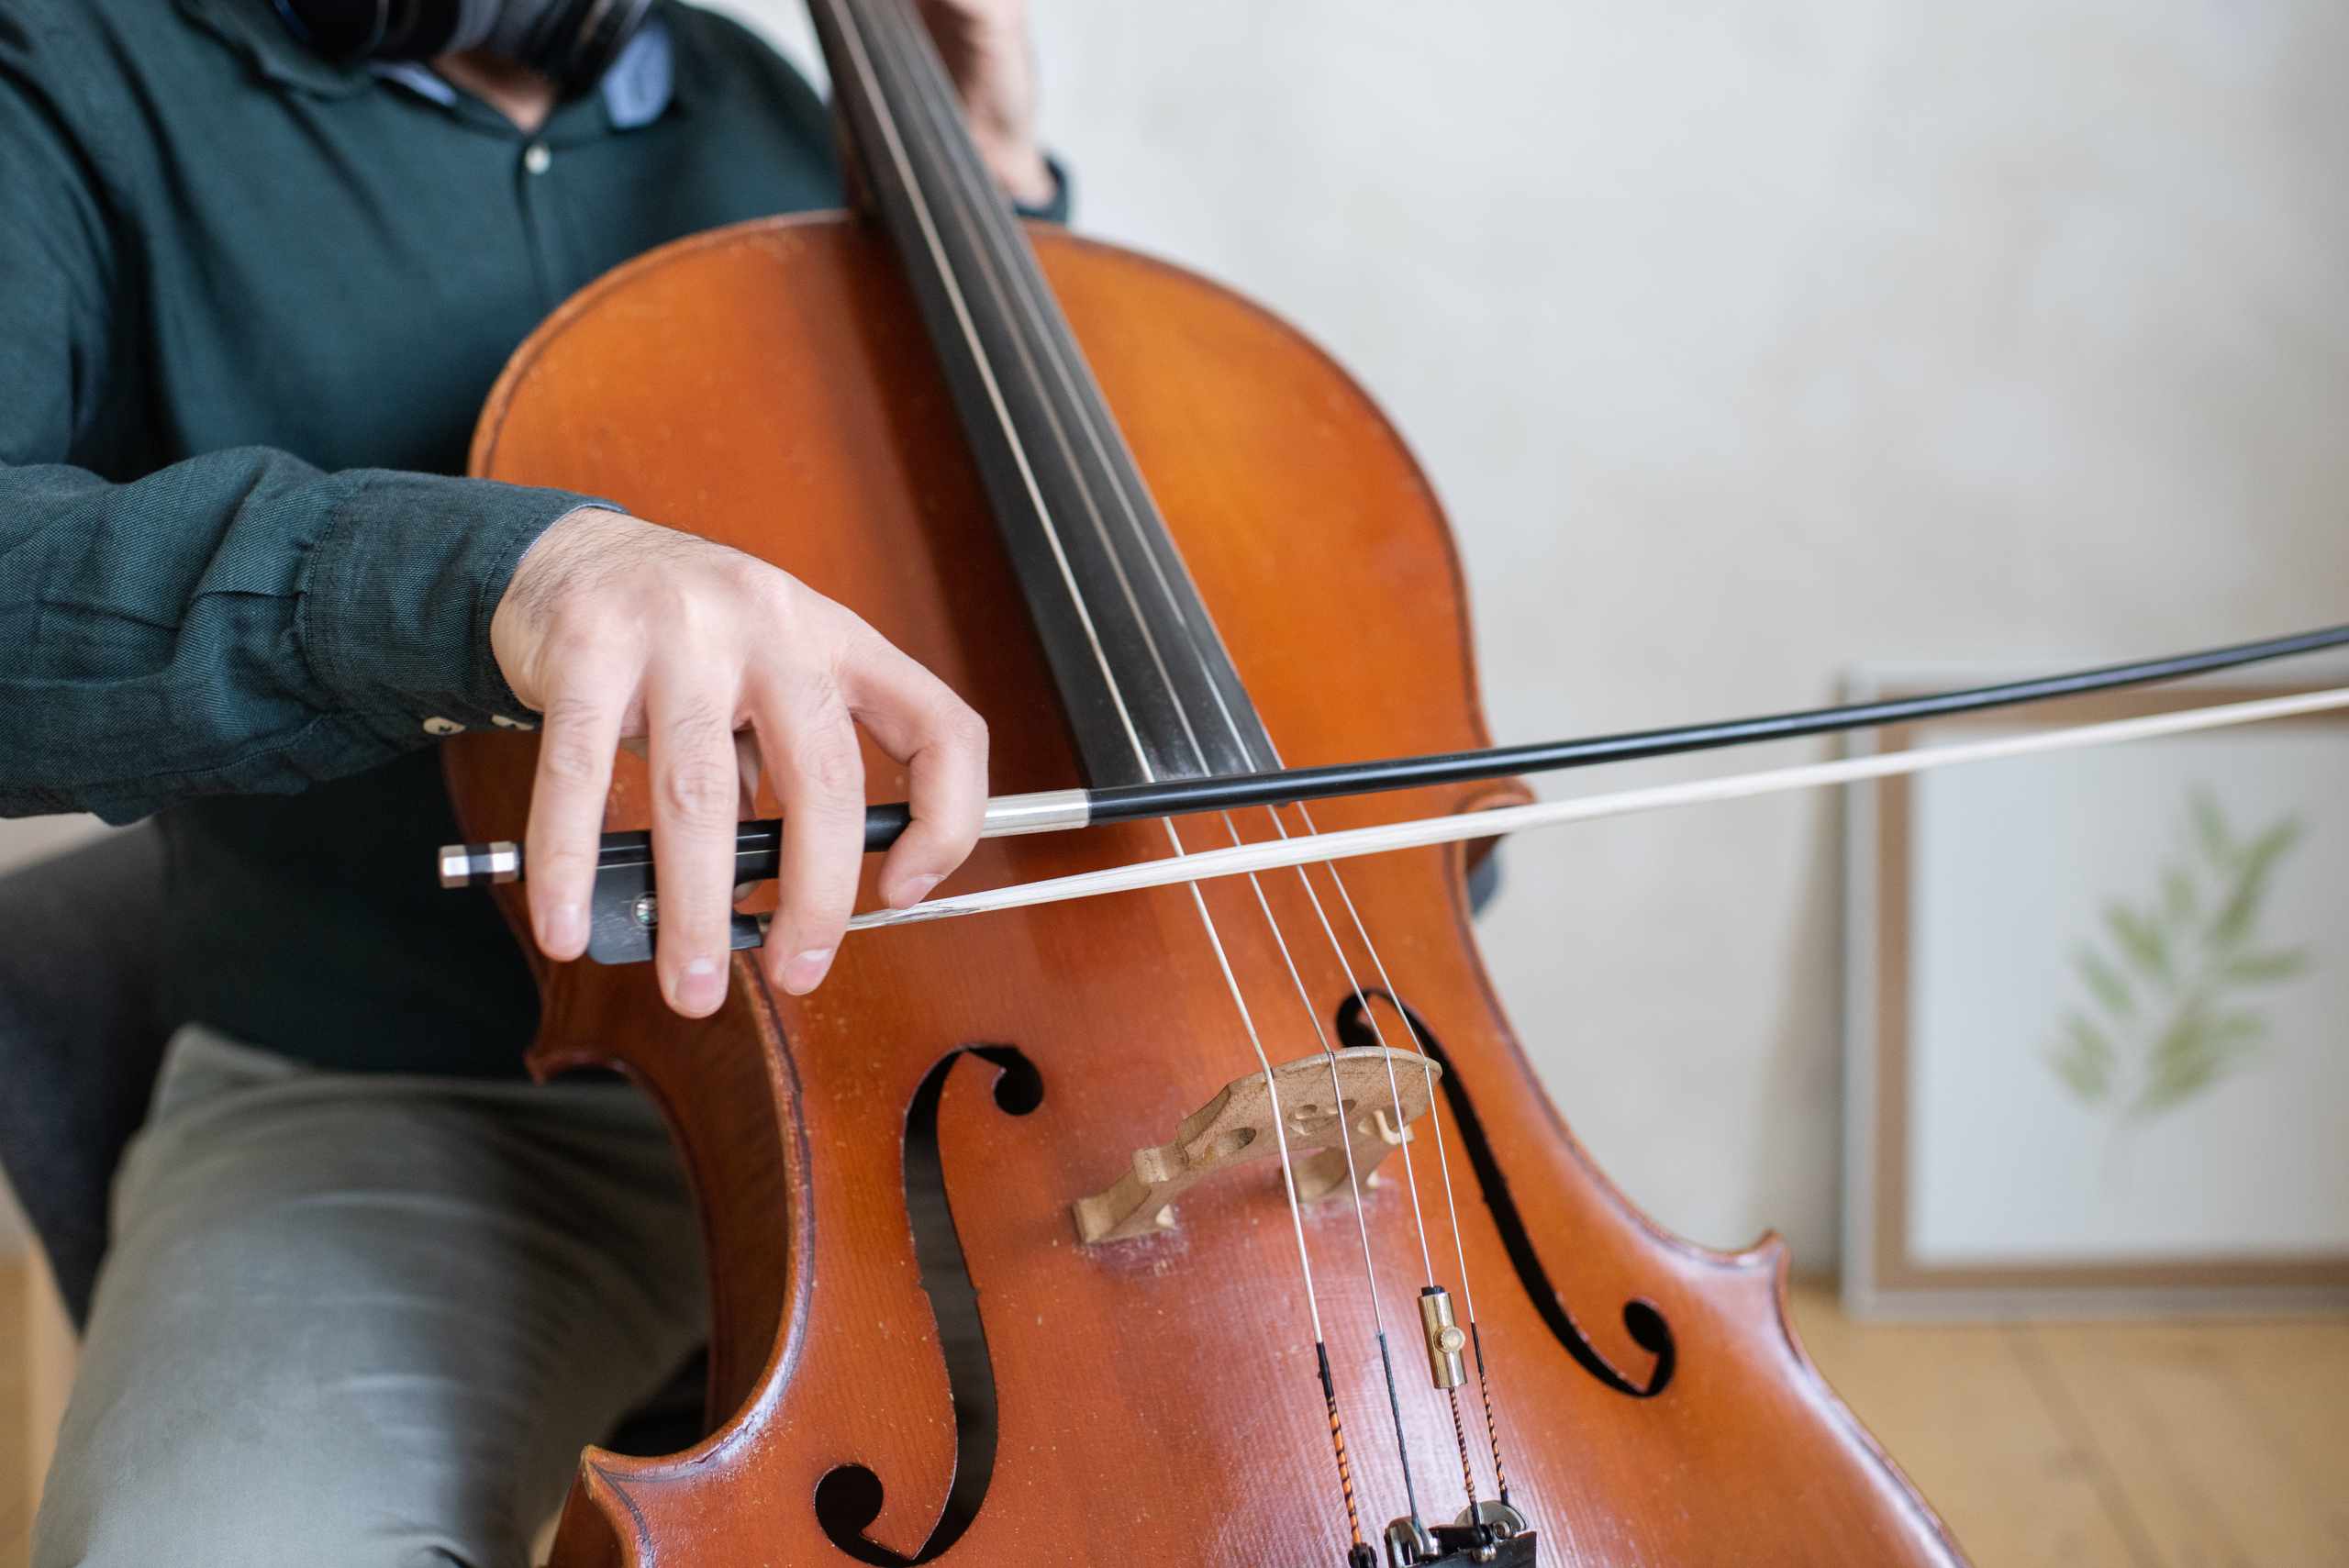
Even before you bring the bow to a string, how the cello is resting against your body influences almost everything that happens afterward. If your chair is too tall, your endpin is too short, or your cello is angled incorrectly, you might find yourself raising a shoulder, squeezing the cello with your knees, or stretching for the fingerboard. These adjustments can make your bowing and left hand feel much more difficult than necessary. A good setup should allow the cello to sit securely while leaving your arms free to move.
Start with the chair, not the cello. Use a chair that is steady and doesn’t have armrests that limit your movement. Sit on the front half of the chair instead of slouching in the back. Make sure your feet are on the floor and feel like you are centered. If your legs are jutting up, or if your feet are only barely touching the ground, then the chair is too tall. You don’t want a specific posture; you want to be able to sit upright without feeling stiff.
Then, adjust your endpin so the cello comes to you instead of you leaning over the cello. Put the cello between your knees so the top rests solidly against your chest. The cello neck should be near enough that your left hand can reach the fingerboard without pushing the shoulder forward. If the cello feels too low, extend the endpin a little bit. If it seems as if the cello is trying to move up or the scroll is near your head, shorten the endpin. The changes are small, so you shouldn’t move it more than a couple centimeters at a time.
After deciding on a good height, check if you are holding the cello, or letting it rest against you. Often, beginners tend to hold the cello with their legs because they worry that the cello will move. That pressure can travel up through the hips, back, shoulders, and bow arm. Let the endpin do its job by supporting the cello on the floor and use your knees just enough to know where the cello is. It should be possible to take off some leg pressure without worrying that the cello will suddenly shift.
An easy way to check this is to put the bow down and gently bring the left hand to first position. Just put your fingers on the fingerboard, don’t press them down. Do you have to raise your shoulder to get there? Does your elbow feel stuck to your body? Do you have to turn your wrist so you can get to the strings? If any of these seem odd, go back to adjusting your endpin and cello angle. Now pick up the bow and draw a few slow strokes across an open D or G string. Your right arm should be able to move freely without having to stretch for the cello.
It won’t feel the same every day. Different chairs, different shoes, different floors, or the way you sit down can all cause slight variations. For that reason, it’s helpful to check the chair height, endpin, shoulders, and cello stability for a minute or two before you play. Eventually, you will start to notice if the cello is in a useful position, instead of accepting the angle the cello happens to be at when you take it out of its case.
While you won’t necessarily get a beautiful sound from this setup, it will eliminate a lot of potential problems before you start dealing with bowing and fingering. Next time you practice, try to pay attention to one thing: after adjusting your endpin and sitting down comfortably, can you play an open string with both shoulders relaxed and the cello in a stable position? If the answer is yes, then your basic position is already helping you.